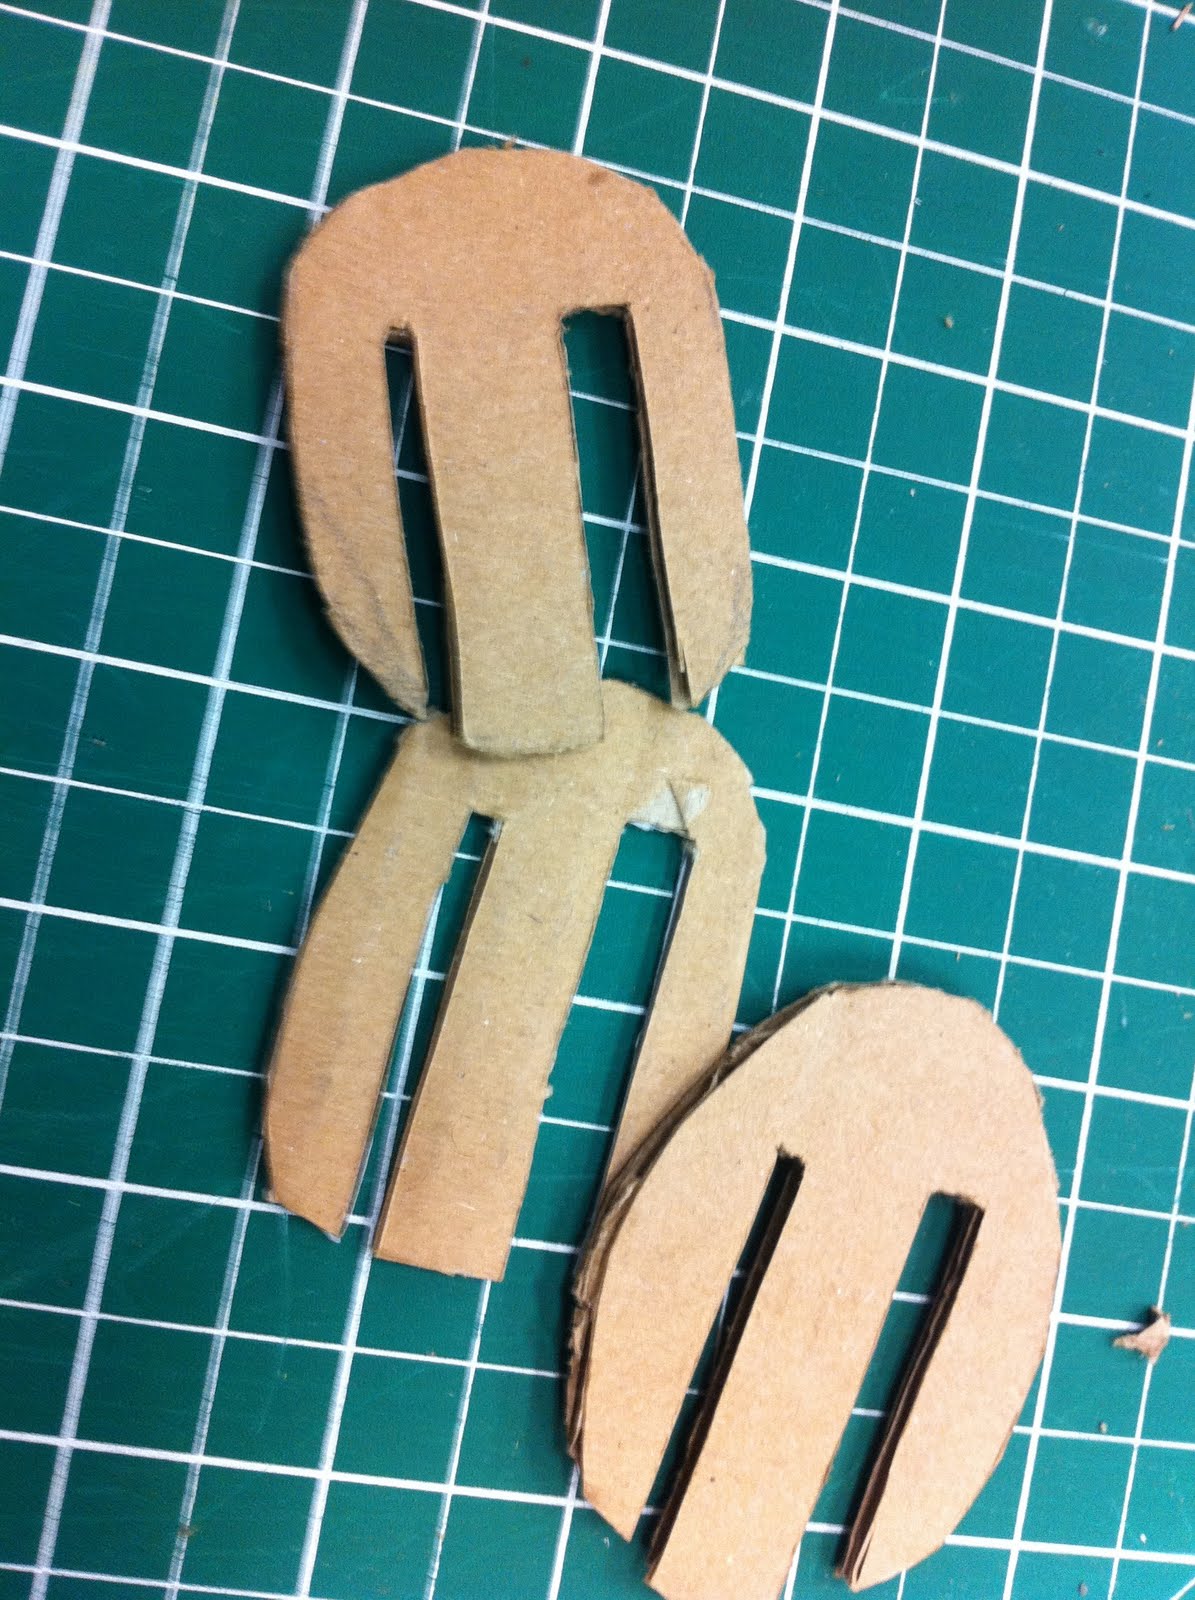
With these photos I was able to make the side view of my Coyote. This took a while until i got the exact shape I wanted. I created two side profiles, then I added oval shaped cardboard, using the slot technique, to both of these side profiles to have a front view. I created a tail and attached it to the very back piece using the slot technique again. At the end, I took the head of the coyote, from both side profiles, and glued them together. This created the skinny looking face which resembled the coyote.
Some difficulties that I encountered during this process were getting the exact shape of the coyote that I wanted, cutting the exact shape of the ovals that resembled the body, and visualizing the size and shaped I needed to cut. This took a while but after many attempts, I got the shape I wanted. Just like the side profile shapes, the oval body pieces just took time. Since it was very hard to visualize the size and shape of the pieces I needed to cut, the photos above really helped in deciding the size of the shapes I needed to cut.
I used form, space, and line to create a unique piece of art mainly by making the oval piece attached to the body flush with the side profile to my best ability. I also created a second side profile and put the two pieces together, but with space in-between them to not only use as a guide for how thick I need the coyote to be, but the space in-between these pieces showed how wide the coyote is.